Pyrography
Published at: May 10th 2024

source: https://workingtheflame.com/wp-content/uploads/2020/06/pyrography-pen-tool.jpg
The art of drawing with fire, dates back to ancient times and continues to thrive today as artists use heated tools to create intricate patterns and illustrations. This technique, once practiced with metal pokers heated in open flames, is now executed with modern electric woodburning tools for precision and detail. Other names include woodburning, pokerwork, fire etching.
What tools to use
source: https://c02.purpledshub.com/uploads/sites/51/2021/11/Beginners-guide-to-pyrography-5412bc3.jpg
Solid-point burners, resembling soldering irons, are basic pyrography tools with interchangeable tips
- fixed-temperature woodburning pens
- variable-temperature woodburning pens
- soldering iron-style burners
source: https://www.burnsavvy.com/images/wire-nib-pens-rt.jpg
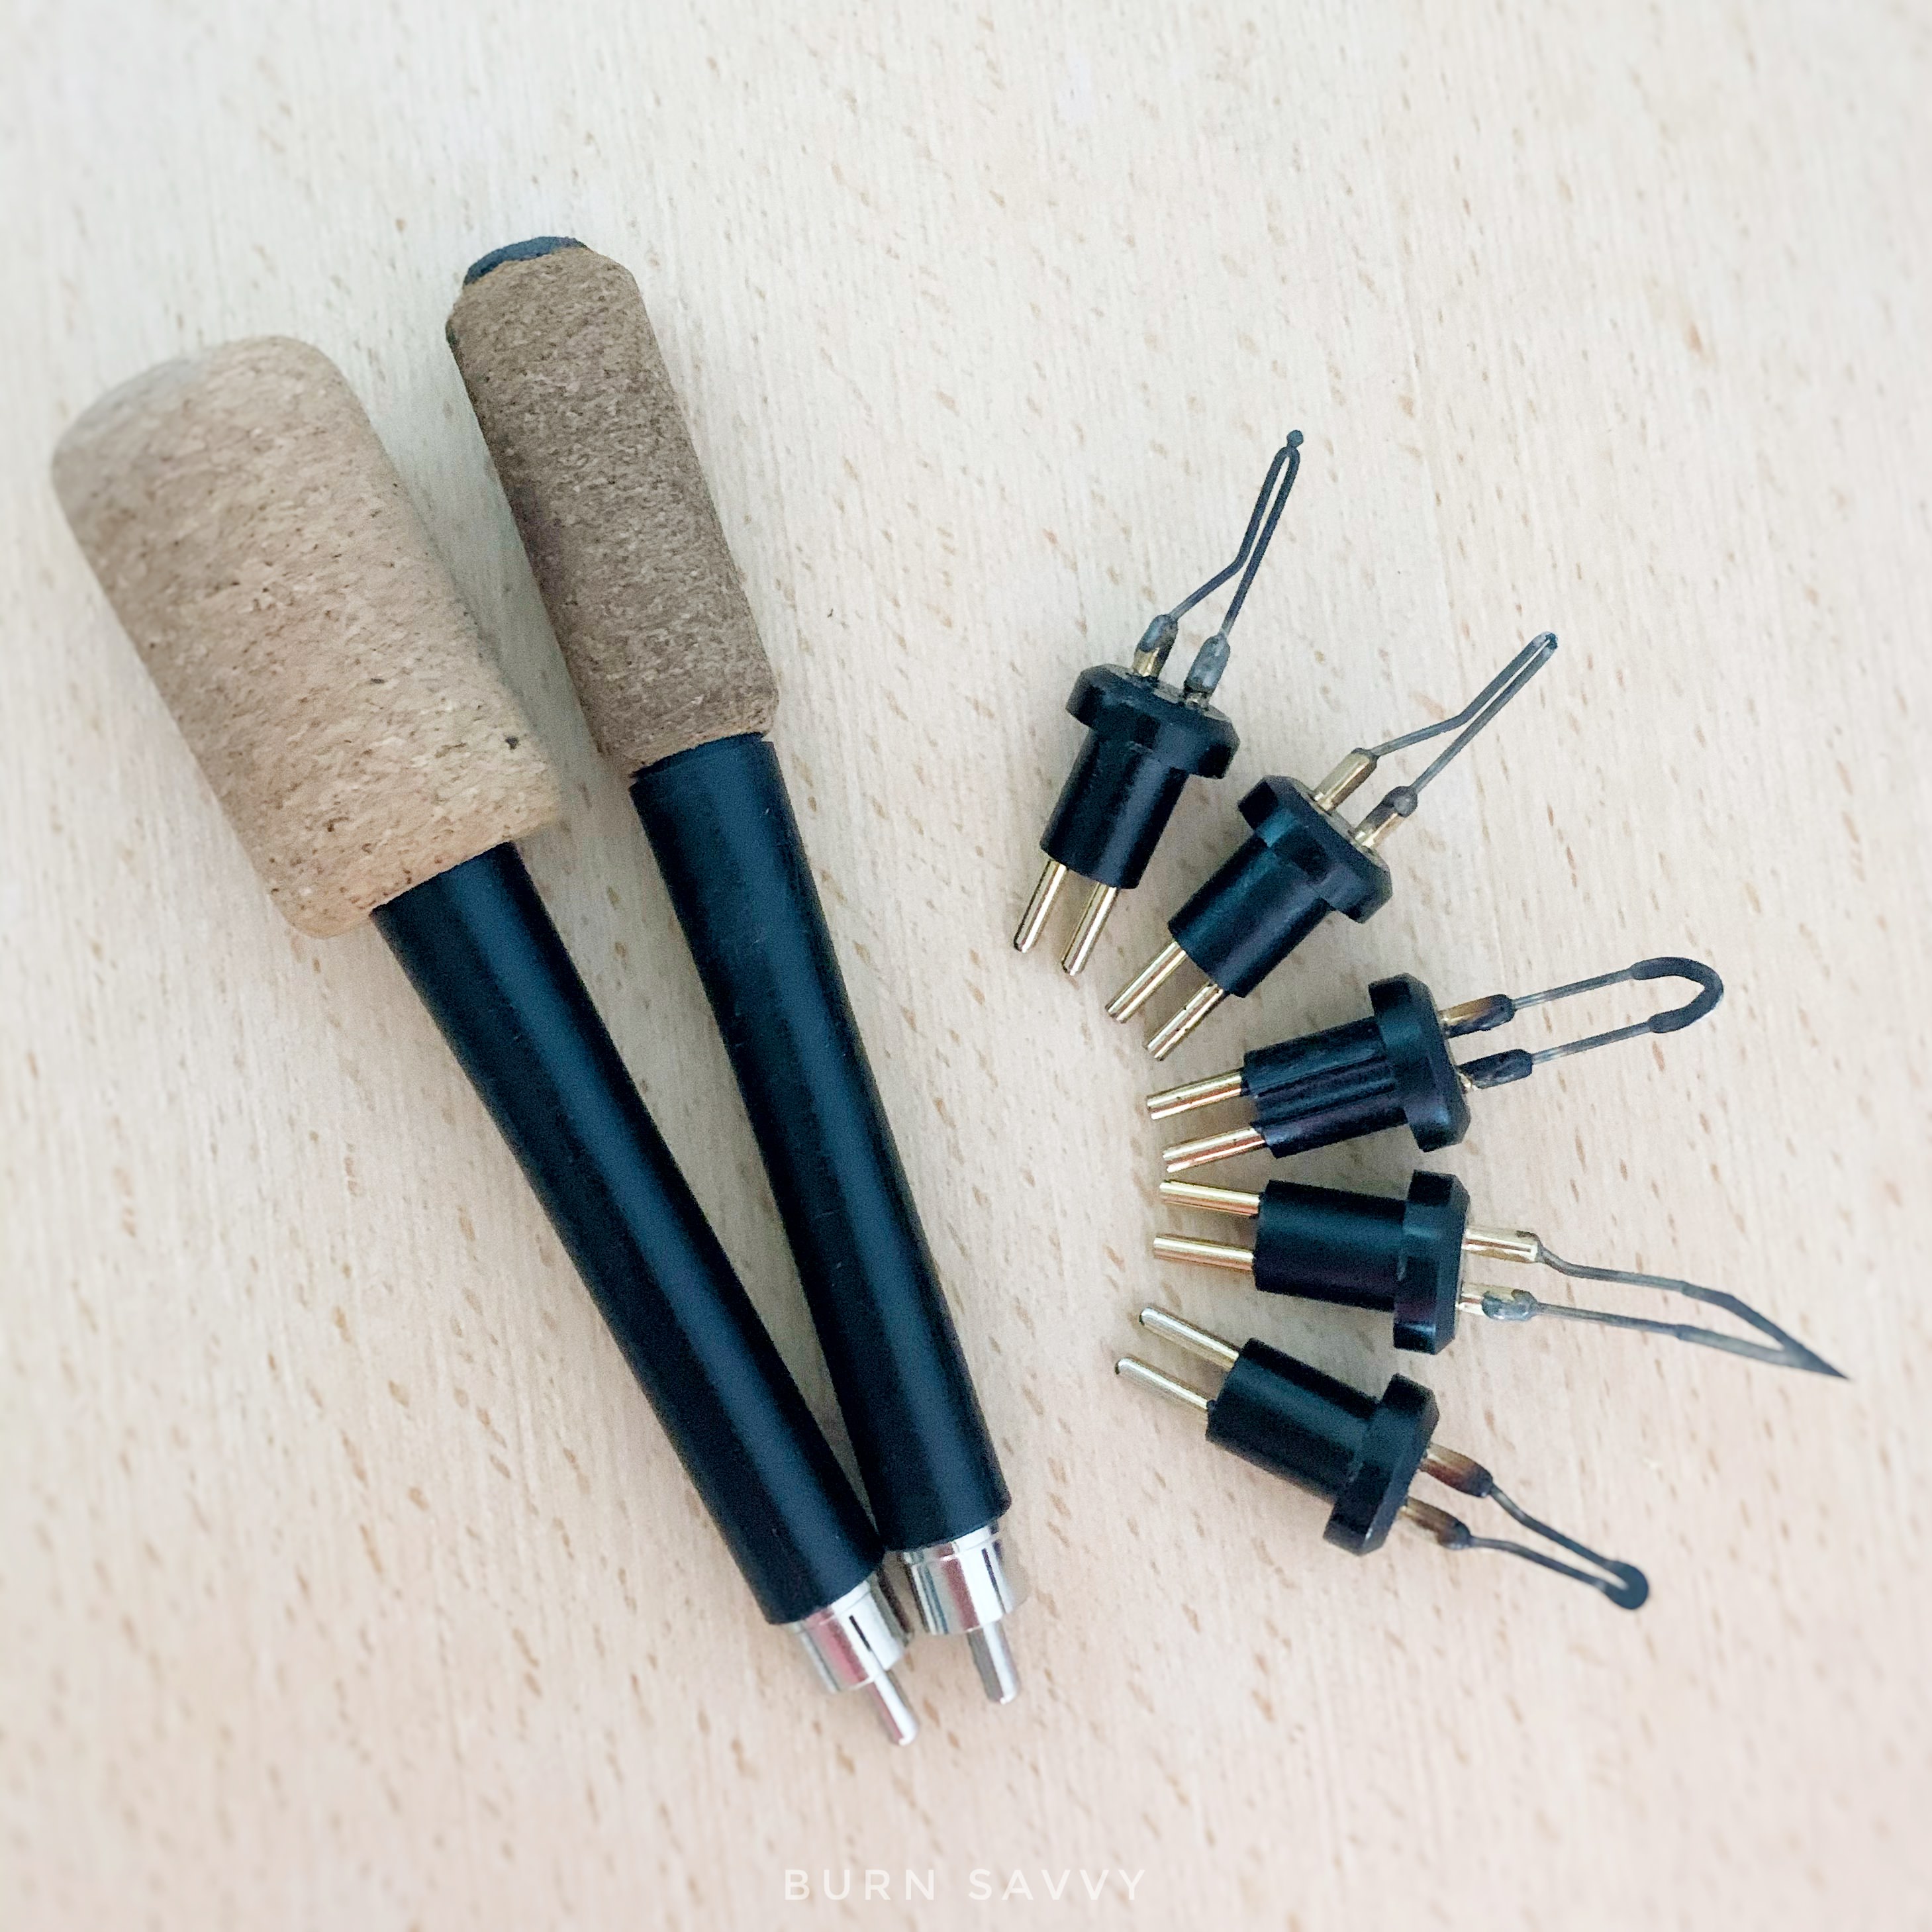
Wire-nib burners are advanced pyrography tools featuring fine wire tips and adjustable-temperature control units, allowing for precise detail, varied shading effects and rapid heating and cooling.
- professional variable-temperature burners
- single pen control units or dual pen control units
2. Wood selection in pyrography
Selecting the right wood is essential, as each type has unique burning characteristics.
- Softwoods: Pine, cedar, and basswood are beginner-friendly due to their ease of burning, though prominent grains can affect fine details.
- Hardwoods: Oak, birch, and maple, favored by experienced artists, provide smooth surfaces for intricate detailing but require patience due to their density.
- Plywood: Ideal for practice and experimentation, offering consistent layers for testing techniques.
Warning: Plywood and Medium Density Fiber (MDF) boards contain unsafe chemicals and formaldehyde, a toxic compound that can release harmful fumes when burned
It is very important to avoid using any wood that has been painted, stained, pressure treated, molded, etc. As a general rule avoid working with any wood that is man-made or man-altered.
3. Other materials
Pyrography can be worked on any natural – organic, untreated surface as wood, gourds, leather, paper mache, cotton fabric, and paper.
source: https://i0.wp.com/www.pyrographymadeeasy.com/wp-content/uploads/2017/09/Leather-Bookmark-in-use.jpg
Leather is easier than wood. Its main drawback is the strong smell, and long preparation.
Bark, especially birch bark. It requires a delicate heating and straightening before the burning process.
4. Safety
Always use proper material
- Avoid burning any wood that you can not positively identify.
- Avoid burning any wood that may have had chemical, oil, or paint finishes. When you burn something that once had a layer of varnish on the surface you will be releasing fumes from the accumulated dust and dirt, the varnish, and the wood.
- Avoid burning any wood that has been water damaged, or has developed mold, fungus, or dust accumulation.
source: https://www.burnsavvy.com/images/xwoodburning-tools-safety-gear.jpg.pagespeed.ic.FUmtlVQrFq.webp
Follow these rules while doing pyrography
- Ventilation: Ensure proper airflow by opening a window
- Protective Gear: Wear a chemical face mask and eye protection glasses
- Posture: Maintain an upright posture to avoid directly inhaling fumes.
- Fume Control: or position a small fan behind you to blow fumes away from your face.
- Avoid Touching the Metal Tip: Solid-point burners can be deceptive in temperature. Test heat on scrap wood instead, and wear gloves to prevent accidental burns.
- Keep Away from Flammable Materials: Maintain a clutter-free workspace to avoid accidental fires or melted items.
- Secure Loose Hair, Jewelry, and Headphones: Prevent them from catching fire by tying them back.
- Work on a Sturdy Surface: Use a table or desk to avoid burning holes in softer surfaces like couches or clothing.
- Always Use the Stand for Your Pen: Rest the pyrography pen on the stand when not in use to avoid burns.
- Turn Off the Burner When Leaving: Treat it like a stove and unplug it to prevent accidental fires.
5. Transferring designs to wood
Here are several techniques to help you transfer your designs with precision:
- Freehand drawing: For artists confident in their drawing abilities, freehand drawing directly on the wood can result in organic and unique designs.
- Carbon paper: Place carbon paper between your design and the wood, and trace over the design with a pencil. The pressure will transfer the design onto the wood, guiding your burning process.
- Tracing paper: Similar to carbon paper, place tracing paper between your design and the wood, and trace over the design with a pen or pencil.
- Stencil transfer: Purchase or create stencils with your desired designs. Secure the stencil on the wood and use a pencil or ballpoint pen to trace over the stencil, transferring the design.
6. Basic pyrography techniques: lines, shading, and textures
source: https://i0.wp.com/www.pyrographymadeeasy.com/wp-content/uploads/2022/01/Burn-S-0.jpg
Here are three basic techniques to get you started:
- Lines and outlining: Practice creating smooth and consistent lines by adjusting the heat of your pyrography pen. Experiment with different pressure and speed to achieve varied line thicknesses.
- Shading and gradation: Shading adds depth and dimension to your artwork. Vary the pressure and time of contact with the wood to create subtle gradations and shadows.
- Textures and patterns: Explore different tip shapes to create textures and patterns. Cross-hatching, stippling, and pointillism are popular techniques for adding detail and texture to your designs.
As with any art form, practice is key to improving your pyrography skills.
Here are some exercises to help you develop control and precision:
- Straight lines practice: Create straight lines of varying lengths and thicknesses to improve your line-work precision.
- Curved lines practice: Practice drawing smooth and flowing curves to enhance your ability to create intricate designs.
- Gradation practice: Experiment with shading and gradation by burning different tones and gradients on a piece of scrap wood.
- Pattern practice: Create repetitive patterns and textures to refine your ability to produce consistent and symmetrical designs.
Remember, pyrography is a patient and rewarding art form. Embrace the learning process and allow yourself the time to hone your skills and develop your unique artistic style.
sources:
https://stryicarvingtools.com/blogs/news/the-magic-of-pyrography-tools-for-wood-burning-art
https://www.burnsavvy.com/pyrography-tools.html
https://www.pyrographymadeeasy.com/2015/12/19/wood-types-and-prepping-wood-for-pyrography/
https://lsirish.com/2015/03/11/toxicity-of-wood-burning-and-wood-carving-media/
https://pyroprint.com/materials-for-pyrography/
https://suncatcherstudio.com/woodworking/pyrography-wood-burning/
https://www.woodburncorner.com/burnblog/a-brief-history-of-pyrography